Please enter your location or click here to select our default site experience.
Save time and money with the Friedrich rebate center
Many municipalities and utility companies offer financial incentives for energy-efficient upgrades, making it easier for homeowners to invest in new systems. The Friedrich rebate center is your one-stop shop for finding local rebates, with an easy-to-use interface that saves you the time and trouble of searching for rebates yourself. Let the Friedrich rebate center do the work for you!
By promoting these rebates, you can boost customer satisfaction and drive more sales from customers hesitant to make the leap and upgrade their HVAC system. Plus, staying informed about local incentives positions your business as a trusted advisor, helping clients make smarter choices for their homes and the environment.
Dive into the Friedrich rebate center today and see what rebates are available in your area!
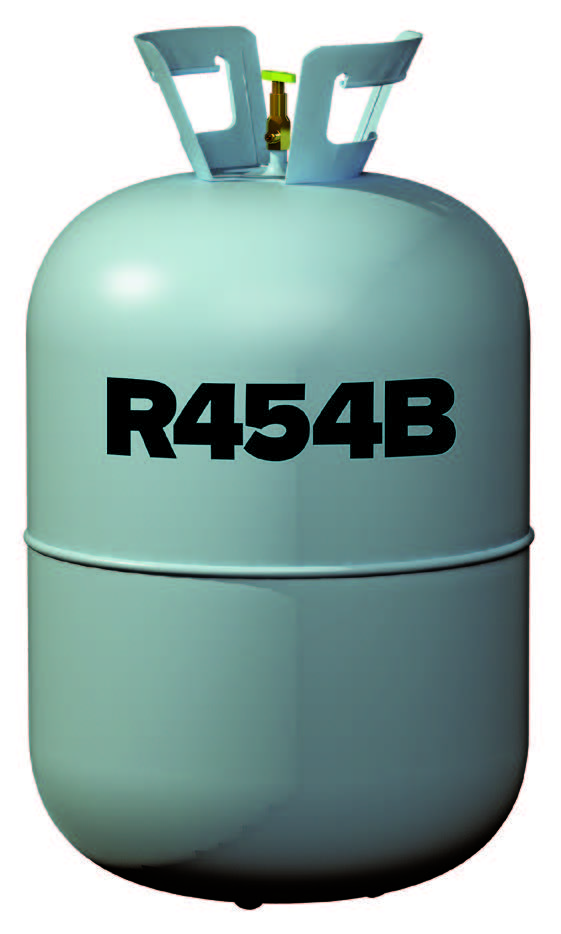
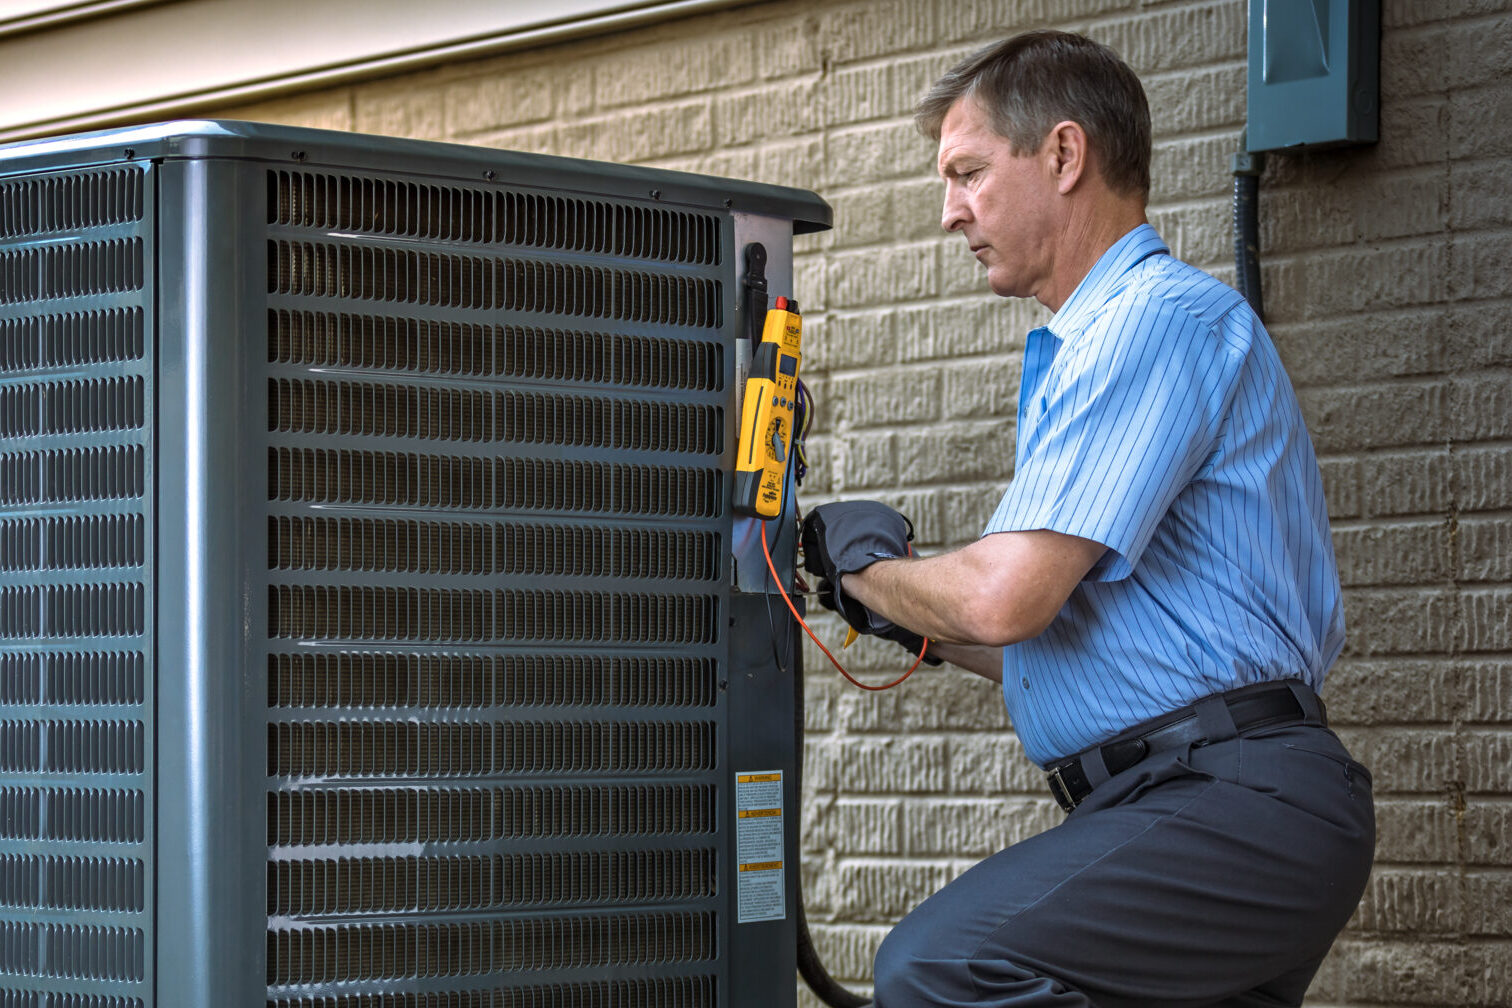
In 2025, EPA regulations will mandate a change to refrigerants that have a lower global warming potential (GWP). That means a transition from R-410A to R-454B, which has one fourth the GWP of R-410A*. R-454B is in a specific class of refrigerants known as A2L, whereas R-410A is a class A1 refrigerant.
Without going into all the technical details, R-454B offers similar operating temperatures, pressures, and oil compatibility as R-410A – reducing the learning curve associated with the new refrigerant.
However, there are two key precautions that must be taken into account:
R-454B and R-410A (or any refrigerant for that matter) cannot be mixed or cross-contaminated
R-454B, as with all A2L refrigerants (including R-32), has a mildly flammable characteristic – meaning:
(1) a direct flame source and a high concentration of refrigerant is required to create a flame
(2) that if it were to ignite, the flame would likely be unsustainable and
(3) the spread rate would be less than half a mile per hour – slower than a typical walking speed.
These differences do require that additional measures be taken from a servicing perspective to avoid cross contamination and/or make certain no sparks are inadvertently generated.
Is your business ready?
Let Ferguson HVAC help prepare you to build your success while filling all of your electrification and zero emission needs. In an effort to support the new 2025 DOE refrigerant changes and efforts towards industry sustainability, Ferguson HVAC is proud to offer an expanded line of energy-efficient heat pump solutions.
A2L Tools: Giving you the Tools you need for the Change.
Service technicians use a variety of equipment on the job – vacuum pumps & recovery machines, recovery cylinders, gauges/manifolds, leak detectors, scales, hoses, etc.
We are also proud to offer you important technical training to help prepare you and your team for the upcoming changes. We are offering a variety of classes including in-person classes, live virtual training classes and online training videos to help you in your journey.
Please review the classes below and sign up online for further information.
Click Here to find In Person training Classes in your area:
Click on the Enroll button and you will be prompted to login to the LMS. If you do not have current login credentials, click on the “create account” button.
*Puron® and Puron Advance™ are trade names for R-410A and R-454B and are used exclusively with Carrier and Bryant branded products.
Lower energy costs with Friedrich
With energy costs consistently rising, it’s more important than ever to help your customers save money on heating and cooling without sacrificing comfort. That’s where Friedrich comes in – The Friedrich Endeavor line includes ENERGY STAR® certified models within the new efficiency standards.
WHY ENERGY STAR? ENERGY STAR certified ducted or ductless air conditioning is an energy-efficient, environmentally friendly way to keep homes comfortable. ENERGY STAR certified air conditioners have higher seasonal energy efficiency ratio (SEER) and energy efficiency ratio (EER) ratings.
WHAT QUALIFIES A SYSTEM AS ENERGY STAR CERTIFIED? Equipment with a 16 SEER rating or above is considered ENERGY STAR certified. Click here to see more helpful information about certification criteria for different kinds of equipment.
WHAT ABOUT HEATING EQUIPMENT? A central air conditioner needs a blower motor – which is usually part of the furnace – to blow the cool air through the duct system. The only way to ensure that your customers’ new air conditioner performs at its rated efficiency is to replace the heating system at the same time. It’s especially recommended if the furnace is over 15 years old. If they purchase a new energy-efficient air conditioner but connect it to an older furnace and blower motor, the system will not perform to its rated efficiency.
ARE THERE REBATES FOR USING ENERGY STAR CERTIFIED EQUIPMENT? Not only can ENERGY STAR certified equipment save customers money on energy costs, they can also earn up to $1,000 in local utility rebates for upgrading to an ENERGY STAR certified system.
For a complete list of Friedrich Endeavor equipment that meets ENERGY STAR criteria, click the link below to download the comparison brochure for Friedrich Endeavor air conditioner and heat pumps equipment.
Welcome to our HVAC Training Videos page. Below you will find videos from Ferguson TSAs as well as videos from our key manufacturers. Feel free to send any requests for videos to our technical department and we will try to accommodate what you are looking for.
Videos Coming soon!
Friedrich Contractor App
Friedrich has designed the most powerful, intuitive, and easy-to-use app for contractors. With the Friedrich® Contractor App (or EcoNet® App), built-in Bluetooth® technology makes advanced set-up, monitoring, troubleshooting and repairing the product easier than ever before. Download the app today on the Google Play store for Android or the Apple App Store.
With Friedrich for Contractors and eligible equipment, you can easily:
Install
Set up systems quickly and easily with the new Bluetooth® setup
Monitor operating parameters from your phone while charging outdoor units
Verify system setup with access to system operating status
Quickly check for alarms
Service
Diagnose active alarms and alarm history
Check system operating status
Easy step-by-step parts replacement and system setup
Track Warranty information
Scan and confirm model and ownership details
Check warranty status and share HVAC systems warranty certificate
Research
Find up-to-date rebate information
Research financing options
Offer extended warranty
Confirm AHRI information and certification for HVAC systems
Ferguson HVAC has you covered for all your mini-split cleaning needs. With multiple spray can cleaners, Nu-Calgon is your answer to any mini-split cleaning job.
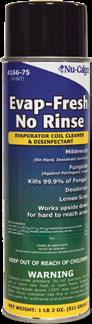
EVAP-FRESH™ NO RINSE EVAPORATOR COIL CLEANER AND DISINFECTANT
This ready-to-use EPA registered cleaner and disinfectant is designed for treating residential and commercial evaporator coils.
Evap-Fresh No Rinse is a ready-to-use, non-abrasive, one-step cleaner and disinfectant for evaporator coils in small air conditioners, commercial air handling equipment, HVAC cooling coils and refrigeration equipment. It is the first product of its kind in the industry to receive EPA registration for such claims.
EVAP FOAM® NO RINSE
Evap Foam No Rinse is a high performance, heavy duty detergent, specifically formulated with special surfactants and alkaline cleaners that have been developed into a foaming, no-rinse product. It will liquefy dirt, grease, oil, and other residues quickly and easily. Since it is fortified with corrosion inhibitors, it is safe for use on metals and other materials.
Evap Foam will liquefy dirt, grease, oil, and other residues quickly and easily. Since it is fortified with corrosion inhibitors, it is safe for use on metals and other materials. The product’s fast-breaking foam is completely self rinsing. Simply spray Evap Foam on the coil and the foam will wash the emulsified matter off. The aerosol product is NSF registered for use as a coil cleaner in and around food processing areas, and helps leave the area deodorized with a pleasant lemon scent. For hard to reach areas, use in conjunction with Nu-Calgon’s 27-inch Talon Flexible Aerosol Wand.
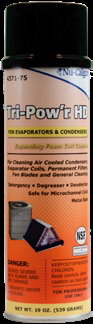
TRI-POW’R® HD
Tri-Pow’r HD aerosol provides a powerful foaming spray that penetrates deep into the coil to break loose even the toughest impacted soils. It’s a detergent, degreaser, and deodorizer – all in one convenient spray.
Tri-Pow’r HD is perfect for cleaning air-cooled condensers, evaporator coils, permanent filters, fan blades, motors and other general cleaning needs. Tri-Pow’r HD is a heavy duty alkaline cleaner that is very unique when compared to other similar alkaline coil cleaners. It’s based upon positive emulsion technology which is the most effective technology used for removing grease and grime. Tri-Pow’r HD emulsifies or converts greasy deposits into a liquid form that can be easily flushed. It also contains a surfactant for “wetting” the greasy deposits as well as corrosion inhibitors for protecting equipment surfaces. Tri-Pow’r HD is a non-acid formula, very safe to use, and it’s a deodorizer as well.
Now that summer is winding to an end and fall is upon us, it’s time to start thinking about those yearly maintenance tips you should be discussing with your customers.
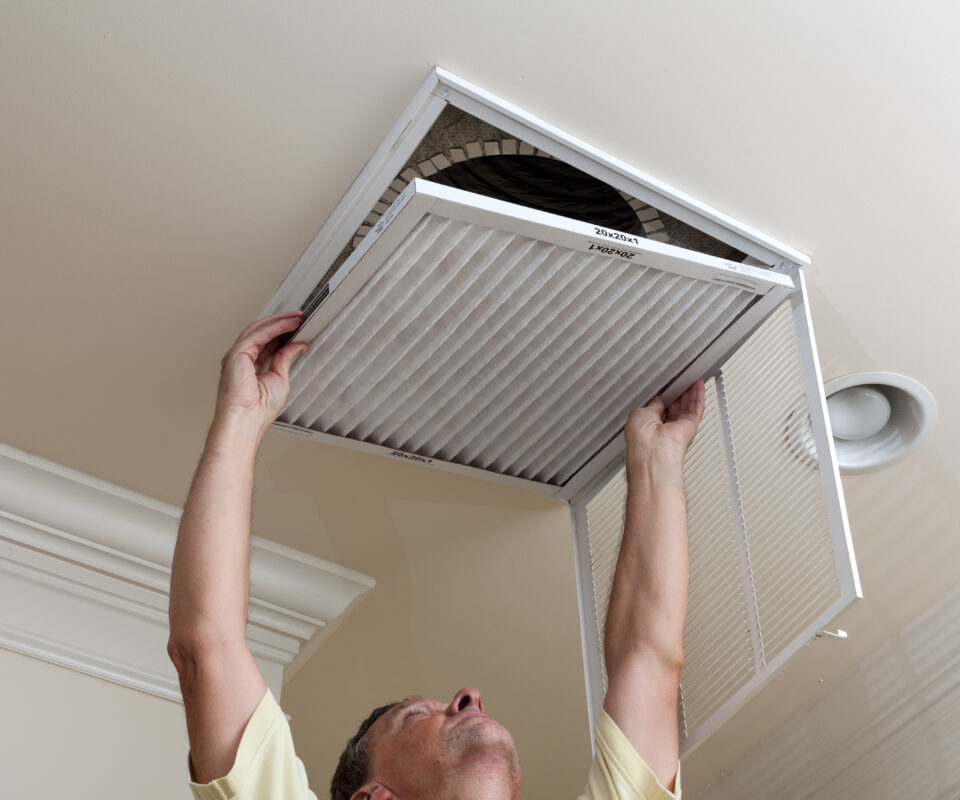
Change Air Filters
Over the summer months with the windows open, plenty of dust and outside particles have clogged up the filters which forces the system to run harder. It’s a good idea to replace the air filters regularly to keep the air fresh and clean so suggest new filters on your next service call.
When the season is changing, and the A/C system needs to wind down, it’s advisable to prep the unit for the winter months. Schedule a call with your customers to make sure there are no leaks in the system and that the motor and fan blade are in good condition.
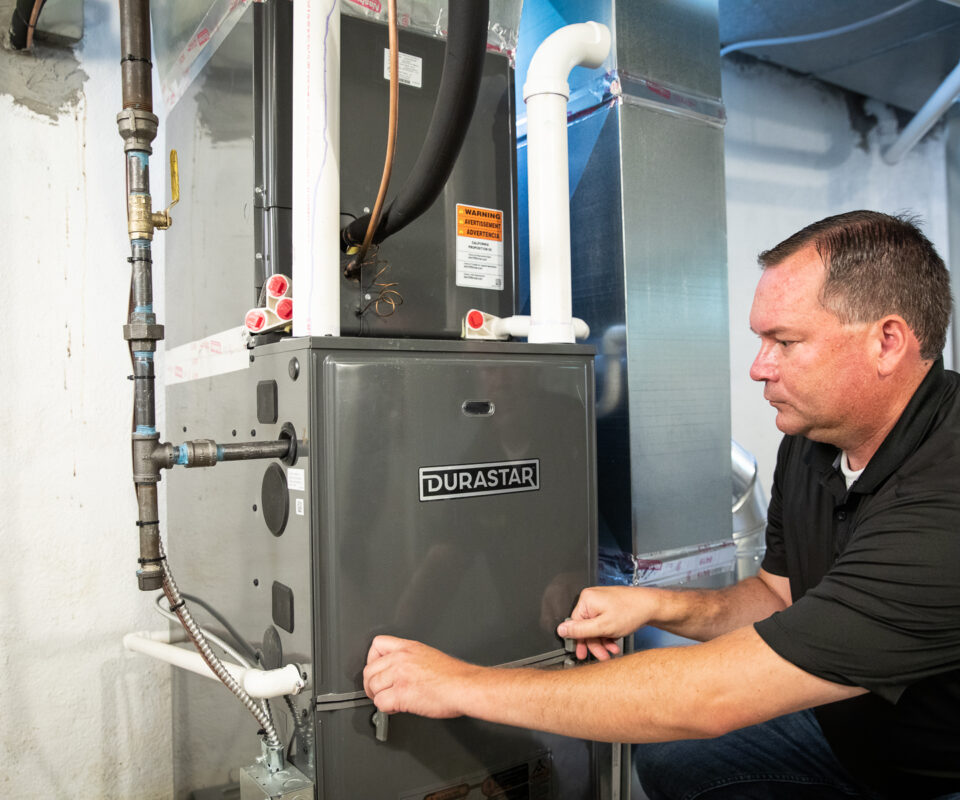
Just as with the A/C unit, making sure that the furnace is ready for the coming winter months is important. If the homeowner has an older system it is worth it to do an evaluation and determine if their system needs an upgrade. In the case that the system is still in good shape, you should try and schedule a fall tune-up with them to make sure that everything is running properly. You should test the airflow and motor as well as inspect the electrical connections.
The thought of unknown and unplanned HVAC related costs can be intimidating. Service rates, replacement parts and systems have a wide range of costs, making it difficult for the homeowner to budget ahead of time. HVAC-related costs can typically be broken down into three categtories:
Maintenance: Offering your customers a maintenance service agreement for preventive maintenance on their HVAC system can prevent minor issues from turning into major, expensive problems over time and could maximize the life of the system. Effectively communicating this value to the homeowners is not only beneficial from a business standpoint, it also helps build trust and an on-going relationship with that customer.
Repair: The cost to repair an HVAC system typically consists of a flat service call fee, the time associated to complete the repair and the specific replacement parts required for the system. Service calls outside regular working hours are generally more expensive than during normal business hours. These are all factors you will want to discuss with the homeowner so they have an accurate idea of the total cost and are not surprised with a larger-than-expected bill.
Replacement: There are multiple factors that come into play when pricing out a full system replacement, including potential upgrades like higher-efficiency units and additional add-ons like in-duct IAQ products. Knowing which products will help the homeowner save money in the long run and increase the life of their brand new system is a great way to show that you are looking out for them.
HOW DO I KNOW WHEN I NEED TO REPLACE MY OLD SYSTEM?
When you are called out for a system repair, there may be a discussion of whether or not the system needs replacing; or how long the system will continue to last. Things you should discuss with the homeowner include the age of the system, the cost of potential repairs, if they have been experiencing a jump in their utility bills, the efficiency of their system, and how long they plan to live in the home. All of these can have an impact on their decision of when to replace the system so it’s important to have an open discussion about their options.
HOW CAN I SAVE MONEY ON MY UTILITY BILLS?
The more electricity or fuel the household uses, the higher their utility bill will be. So, to cut utility bills, you have to reduce the amount of energy that the home uses. In relation to their HVAC system, here are a few ways you can help educate your homeowner on how to maintain lower energy usage:
Higher-efficiency units
Routine air filter replacement
More advanced, programmable thermostats
Routine maintenance schedule
Connected products for a more efficient home
Rheem® Contractor App
The Rheem Contractor app provides the tools you need and has content designed to make your work as a Rheem heating and air contractor or plumber easier. Contractors will have access to learning resources and Rheem product information to help make the best decisions about equipment replacement or repair. The app is also an integrated part of Rheem’s Innovation Learning Centers, providing training materials and documents, interactive exercises, testing, and more – both onsite and after training.
With the app and eligible equipment, you can:
Ensure an easy install
The app is required for setup and commissioning of the Endeavor line products with Bluetooth® technology.
Streamlined, faster and easier setup via Bluetooth technology
Hassle-free ‘charge’ mode in the app
Ensure proper operation after installation with sensor and unit status
Access Product Technical Support
The app also offers powerful support for all Rheem products, with the new Product Technical Support design, it makes it easier to use and more accurate than ever.
Access installation instructions
Share and download manuals
View technical sheets
View service notes
Track warranty information
Access installation instructions
Share and download warranty certificates for HVAC products